Ikea Eket Hack
- 2 Comments
- ATLANTA, GA
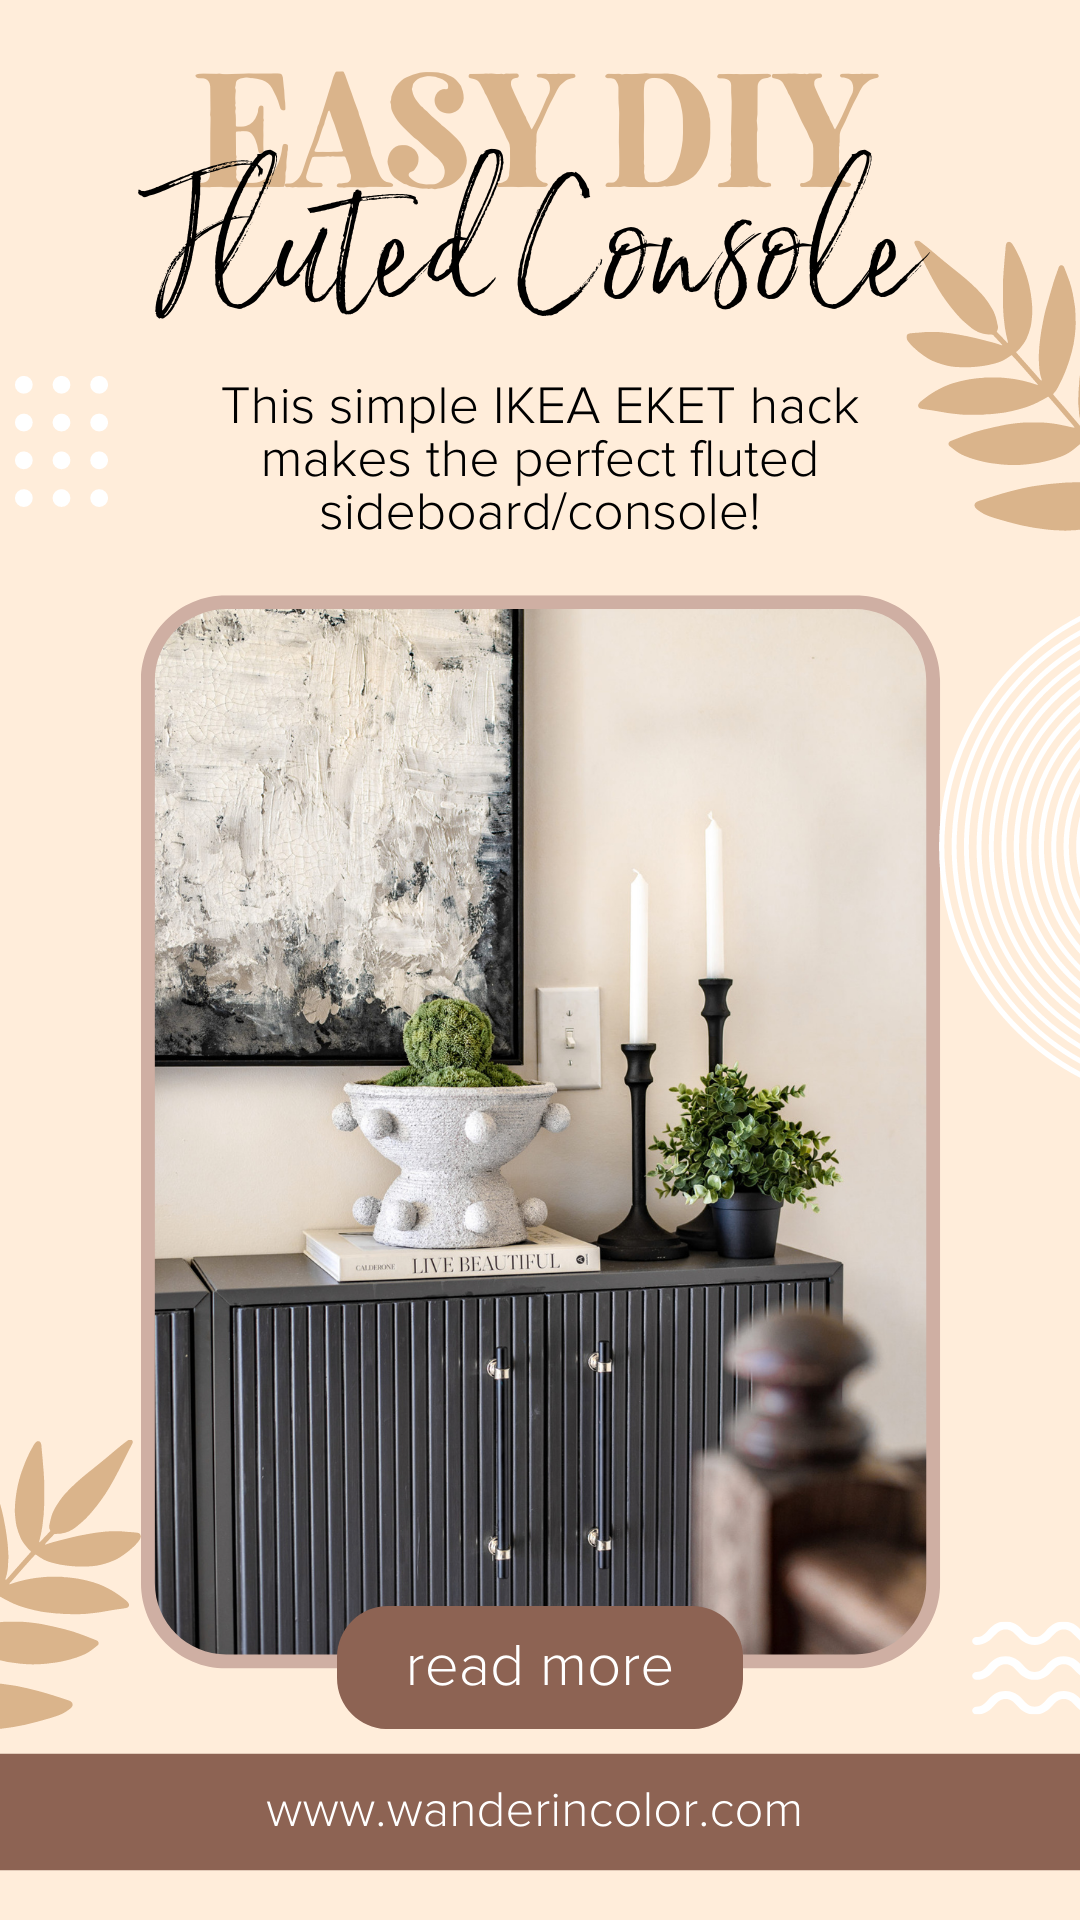
Fluted furniture is so trendy right now and this Ikea Eket Hack is the perfect way to achieve the fluted furniture look with very little money. Every big name retailer has fluted pieces in their current collections right now and I’m here for it! While I love the look of fluted pieces, they can be pricey though. Honestly, I think many of the expensive fluted pieces ARE worth the investment being that they are solid wood and will last for years to come but be prepared to spend a few thousand dollars.
"I am going to make everything around me beautiful...that will be my life.”
- Elsie De Wolfe
CREATE YOUR OWN

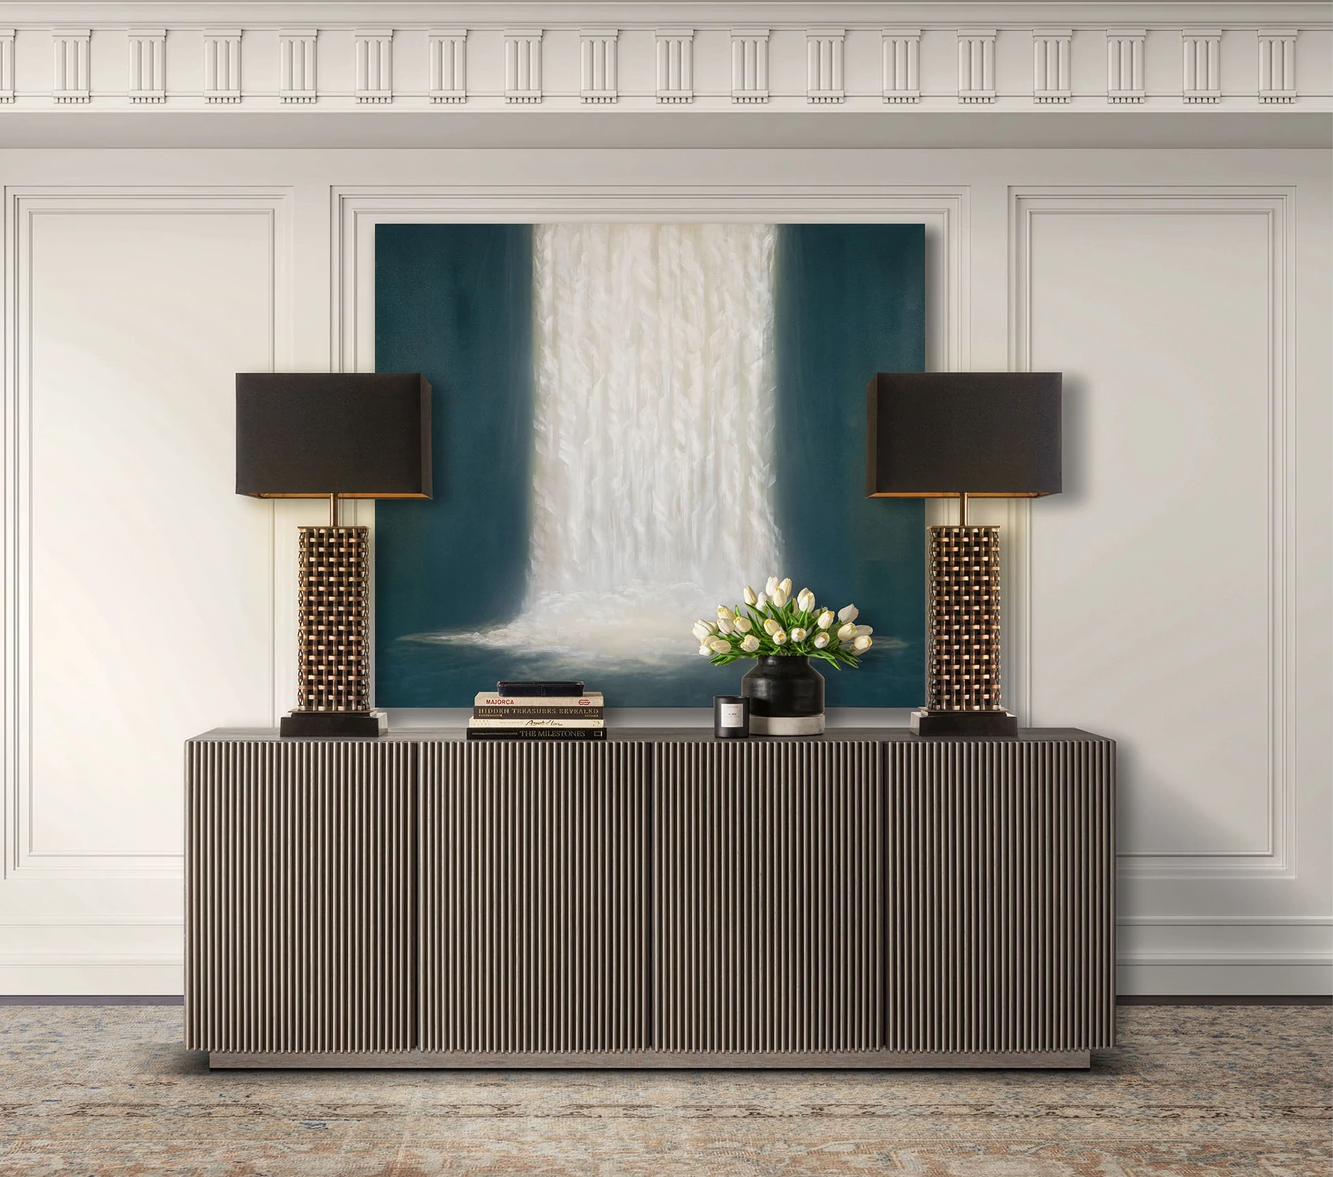

Designer price...
Take this gorgeous Pierre Fluted Console from Ben Soleimani for example. A simple google search for “gray fluted sideboard” showed it as a top result but my heart sank when I clicked on it and saw the price at $7,050. Yes, you read that right, $7,050!!! I mean, that’s like 3 vacations for me. I know inflation is a beast right now and the price of everything is skyrocketing but damn….I can’t justify spending that much.
If you can, by all means splurge away because it’s a beautiful quality piece of furniture but sadly this one would not be coming home with me. I also I knew I wanted the piece to be elevated off of the floor on legs, so this on was not it. I wanted a bit of a mid century modern look so I needed to keep searching.
GRAY & BLACK FLUTED
CONSOLE
Inspiration
As I kept on my hunt for more affordable budget-friendly fluted furniture, I came across this wayfair piece. The price was a steal at under $500, but even though the price was right the size was not. I needed something slightly longer. It also needed to be pretty shallow because it was going in a small landing at the top of my stairs going to the second floor. Design-wise though, I loved the decorative fluting and the gray color was perfect. I also loved the black legs and handles, but I started thinking of hacks to DIY this and when it comes to hacking pieces Ikea hacks are the go-to choice
Let's DIY this instead...
After days/weeks of searching my brain started going into DIY mode. If you are a DIY’er like me or you are new to the world of DIY, IKEA is a great place to start for base pieces. There are tons of IKEA “hacks” all over the internet that you can find for inspiration and many of them are super easy. For this DIY I started out with two IKEA EKET cabinets. The Eket comes in lots of sizes and already comes in white or gray. Since I knew I wanted a gray piece I got the gray one that way I wouldn’t have to paint the entire thing.
FYI the EKET also comes in 2 different depths so I chose the more narrow one which is about 9 inches deep, perfect for a small space! Also a couple of things to note about the IKEA Eket. Once you put the doors on they do not come off. They attach with a small pin and once it’s popped into place it does not come out. The reason I say this is because when I assembled the first cabinet I put the doors on and realized they dont come off. This was not an issue until after I put the fluting on and started to prime. It was a bit difficult to tape off the entire edge of the cabinet and I made a bit of a mess with the primer/paint.
For the second cabinet I decided to attach the fluting to the doors beforehand and paint everything then attach the doors at the end. So much easier! So let’s get into this DIY……
Here's what you will need...
I’ve tried to make the instructions as simple as possible. In all honesty I personally used a YouTube video for instructions on adding the fluting. The video below is the one I used and I suggest watching this first before starting. The video is the Ikea Kallax instead of the Eket but the concept is the same and the same way I attached my fluting.
1. assemble the
cabinets
Assemble both of your Eket cabinets, leaving off the doors. The doors are the last step anyway.
2. prep the Moulding
When I say prep I mean a quick hand sanding. The moulding may have a few sharp edges and will not lay straight if you don’t sand the edges down. Plus sanding them will make sure they fit just right on these doors
3. attach Moulding
Once your pieces are sanded smooth you can start attaching them to the doors. Spread some wood glue on the back of each piece. place it flush on the inside edge of the first door (where the doors wood meet. With your nail gun, add 3 nails at the top middle and bottom. Repeat the process with the remaining wood pieces till you cover each door. Make sure to place each piece as tight as you can against the previous piece. You should have 18 pieces on each door with a space at the end about 1/8″ wide which allows each door to open and close.
4. fill holes
Fill each nail hole with wood filler and sand when dry.
5. prep and paint
After your wood filler is sanded smooth prime and paint the doors. I used Behr Marquee Paint in the color ‘Cracked Pepper’. The color matched the gray cabinet perfectly and the sample size from Home Depot was enough for all 4 doors
6. attach legs
Attach the legs of your choice to your cabinets. Ikea also sells legs for the Eket but I purchased these Mid-Century style hairpin legs from Amazon and I think they look a lot prettier than the ikea ones.
7. attach doors
Attach the finished doors to your Eket cabinet as instructed. FYI the Eket has the tab style hinges. There are a lot of people leaving reviews that the doors don’t sit level or flush. The position of the tabs is what controls how the doors sit. Once you add the doors you rotate the table which controls how the lay. All the tabs need to be in the exact same position.
FINISHED EKET
IKEA HACK
Diy Version
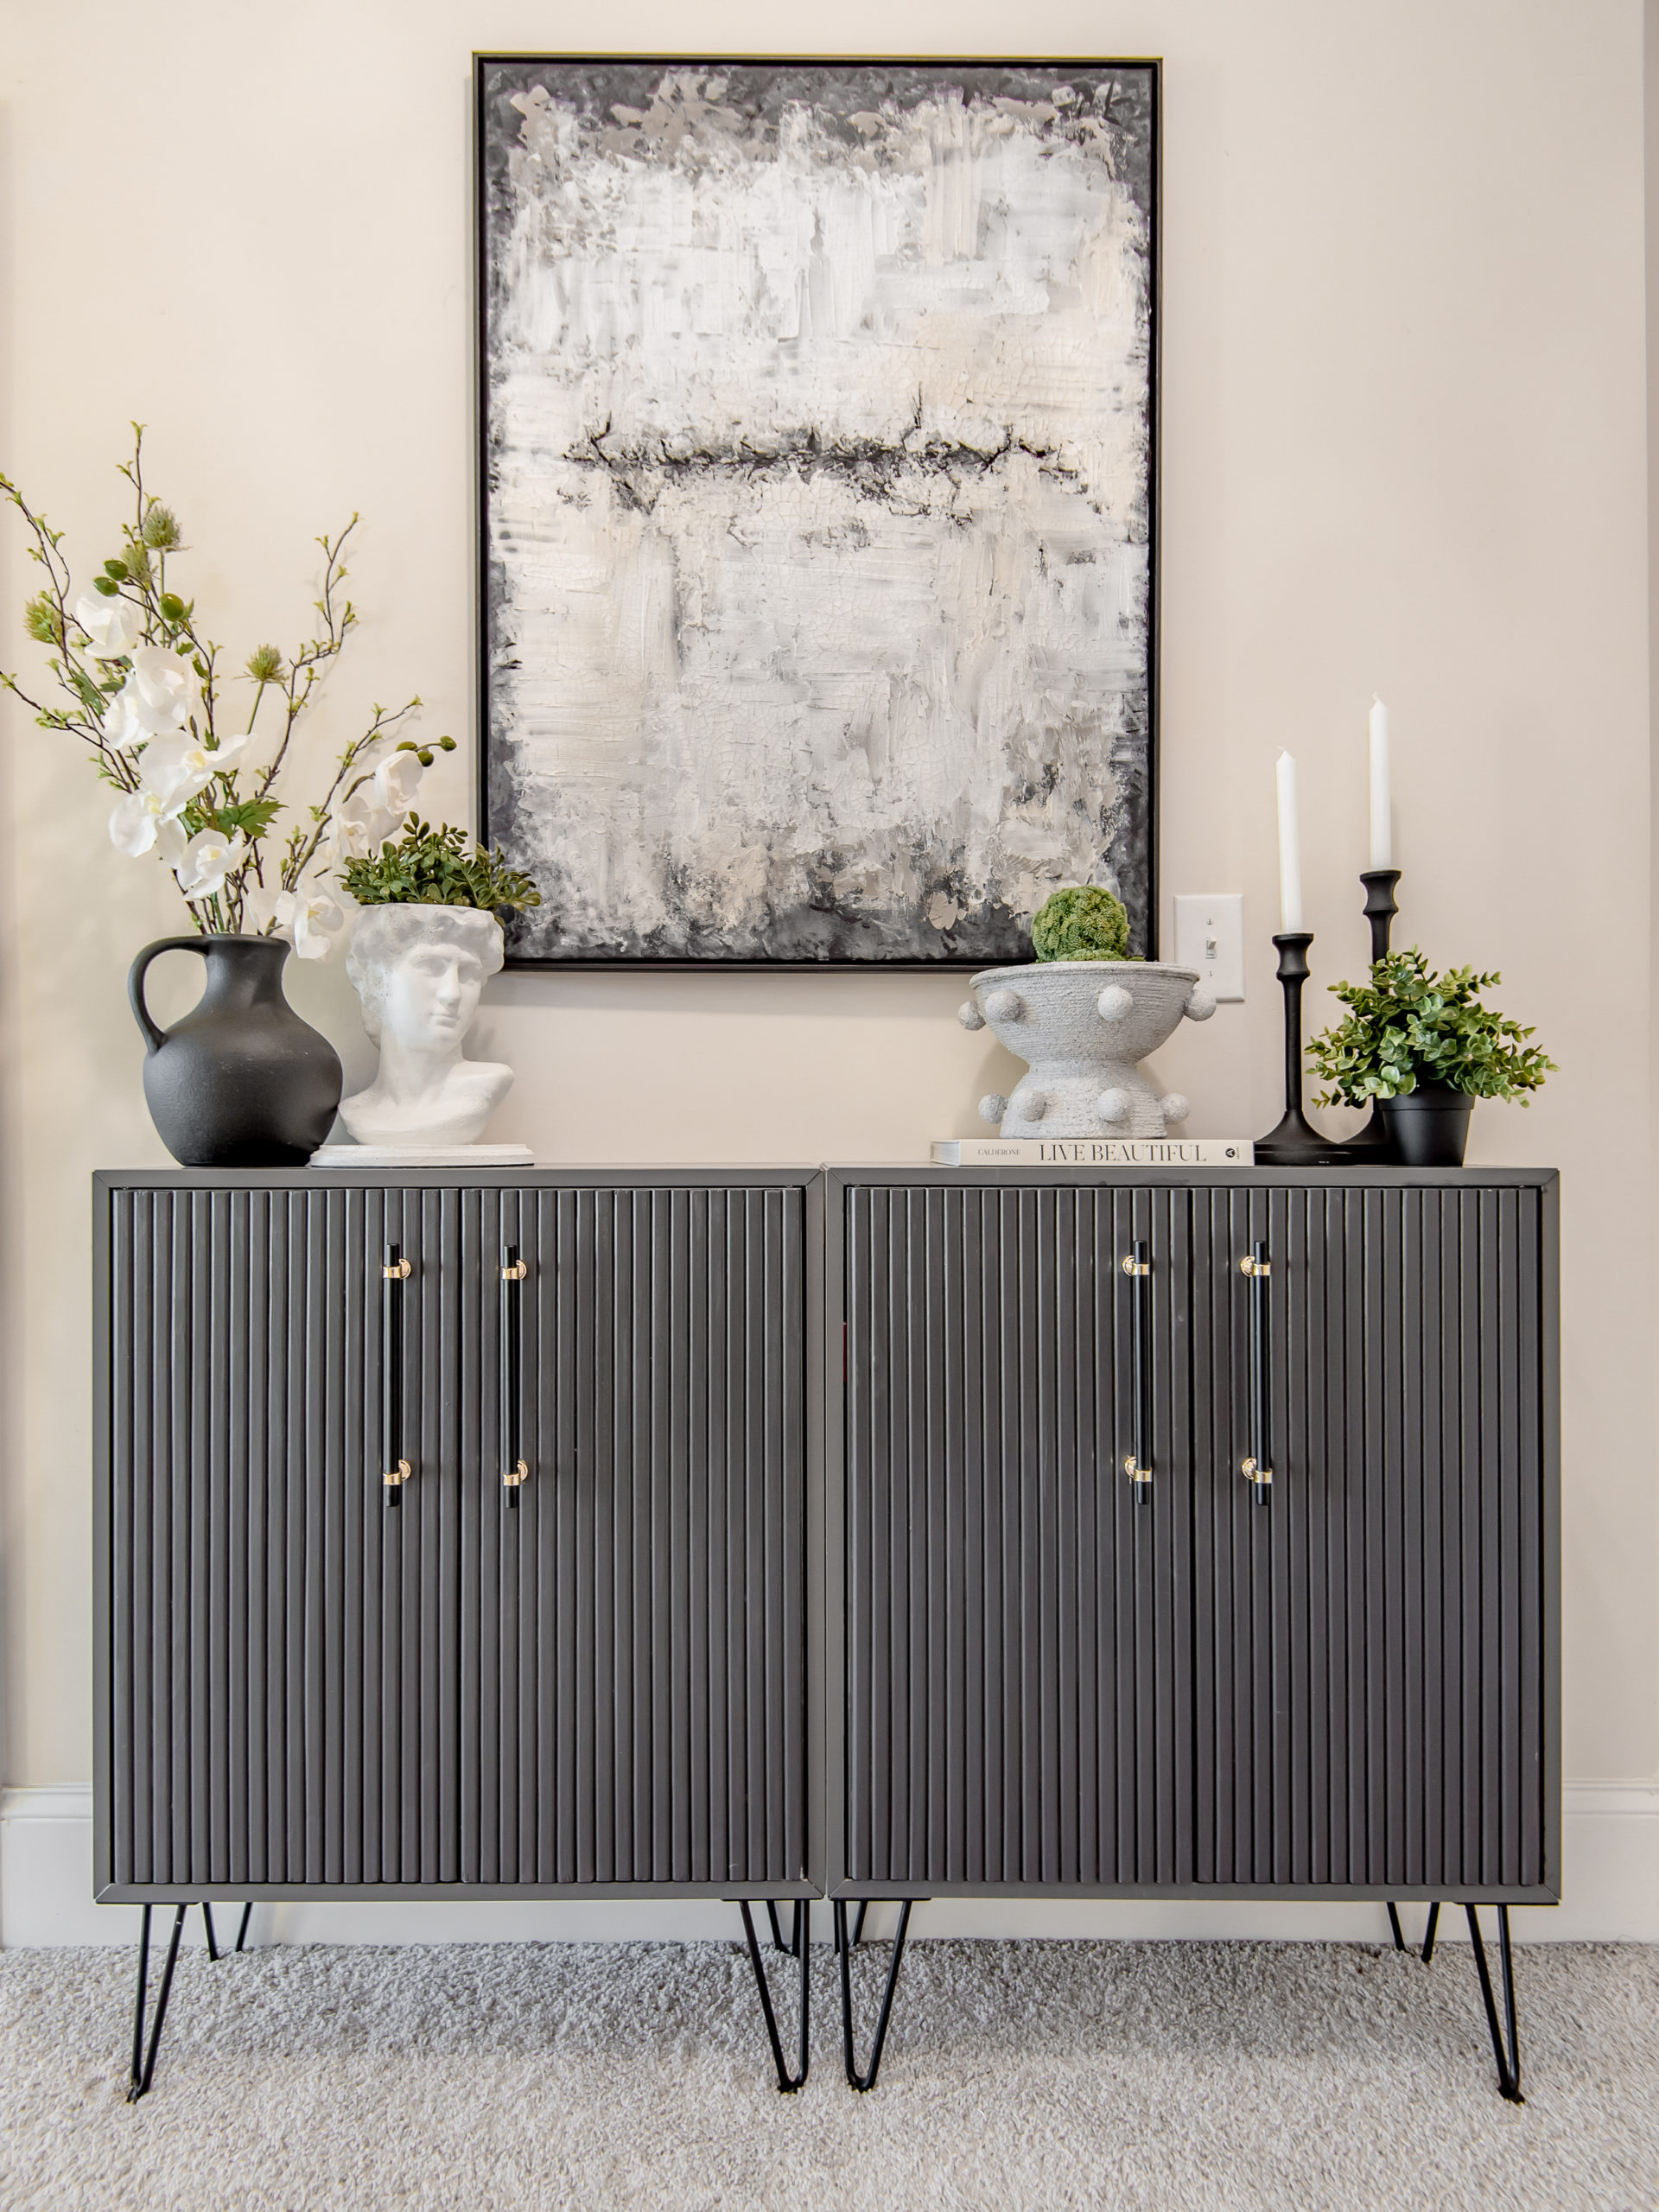
Here is the finished version of my DIY fluted cabinet. When I first put one of these together I attached the doors then did the moulding. Because of that I got paint in a few spots on the frame. You can see it in a few spots. I still need to remove it but because of that I decided on the second cabinet to attach the doors at the end after the moulding and painting is done.
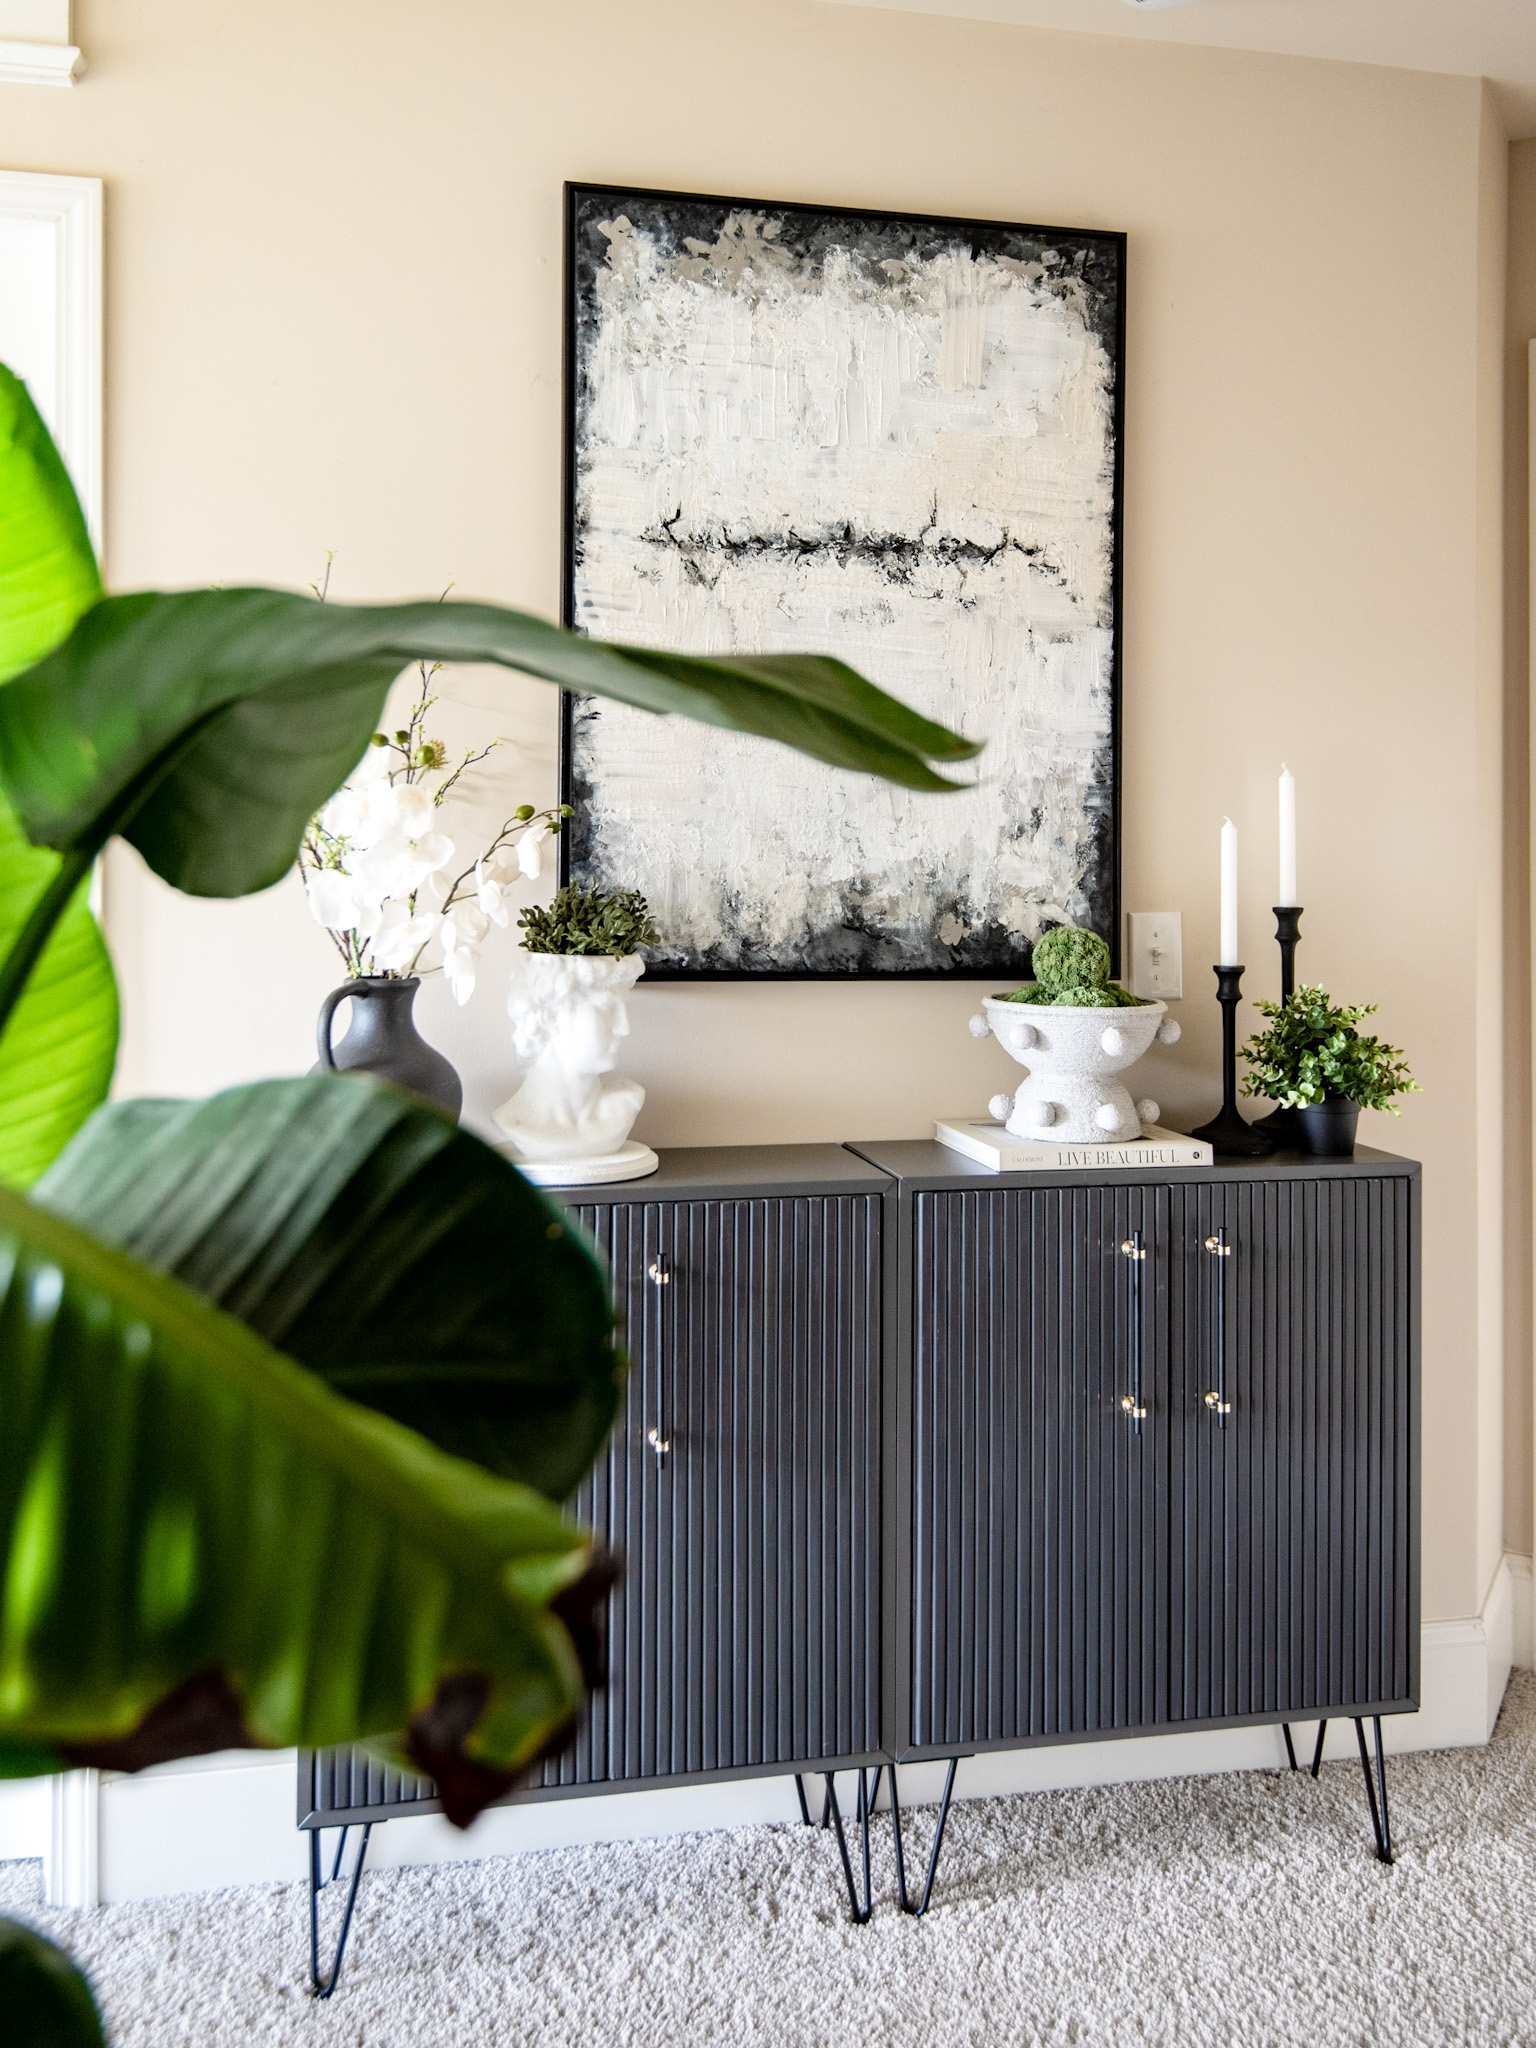

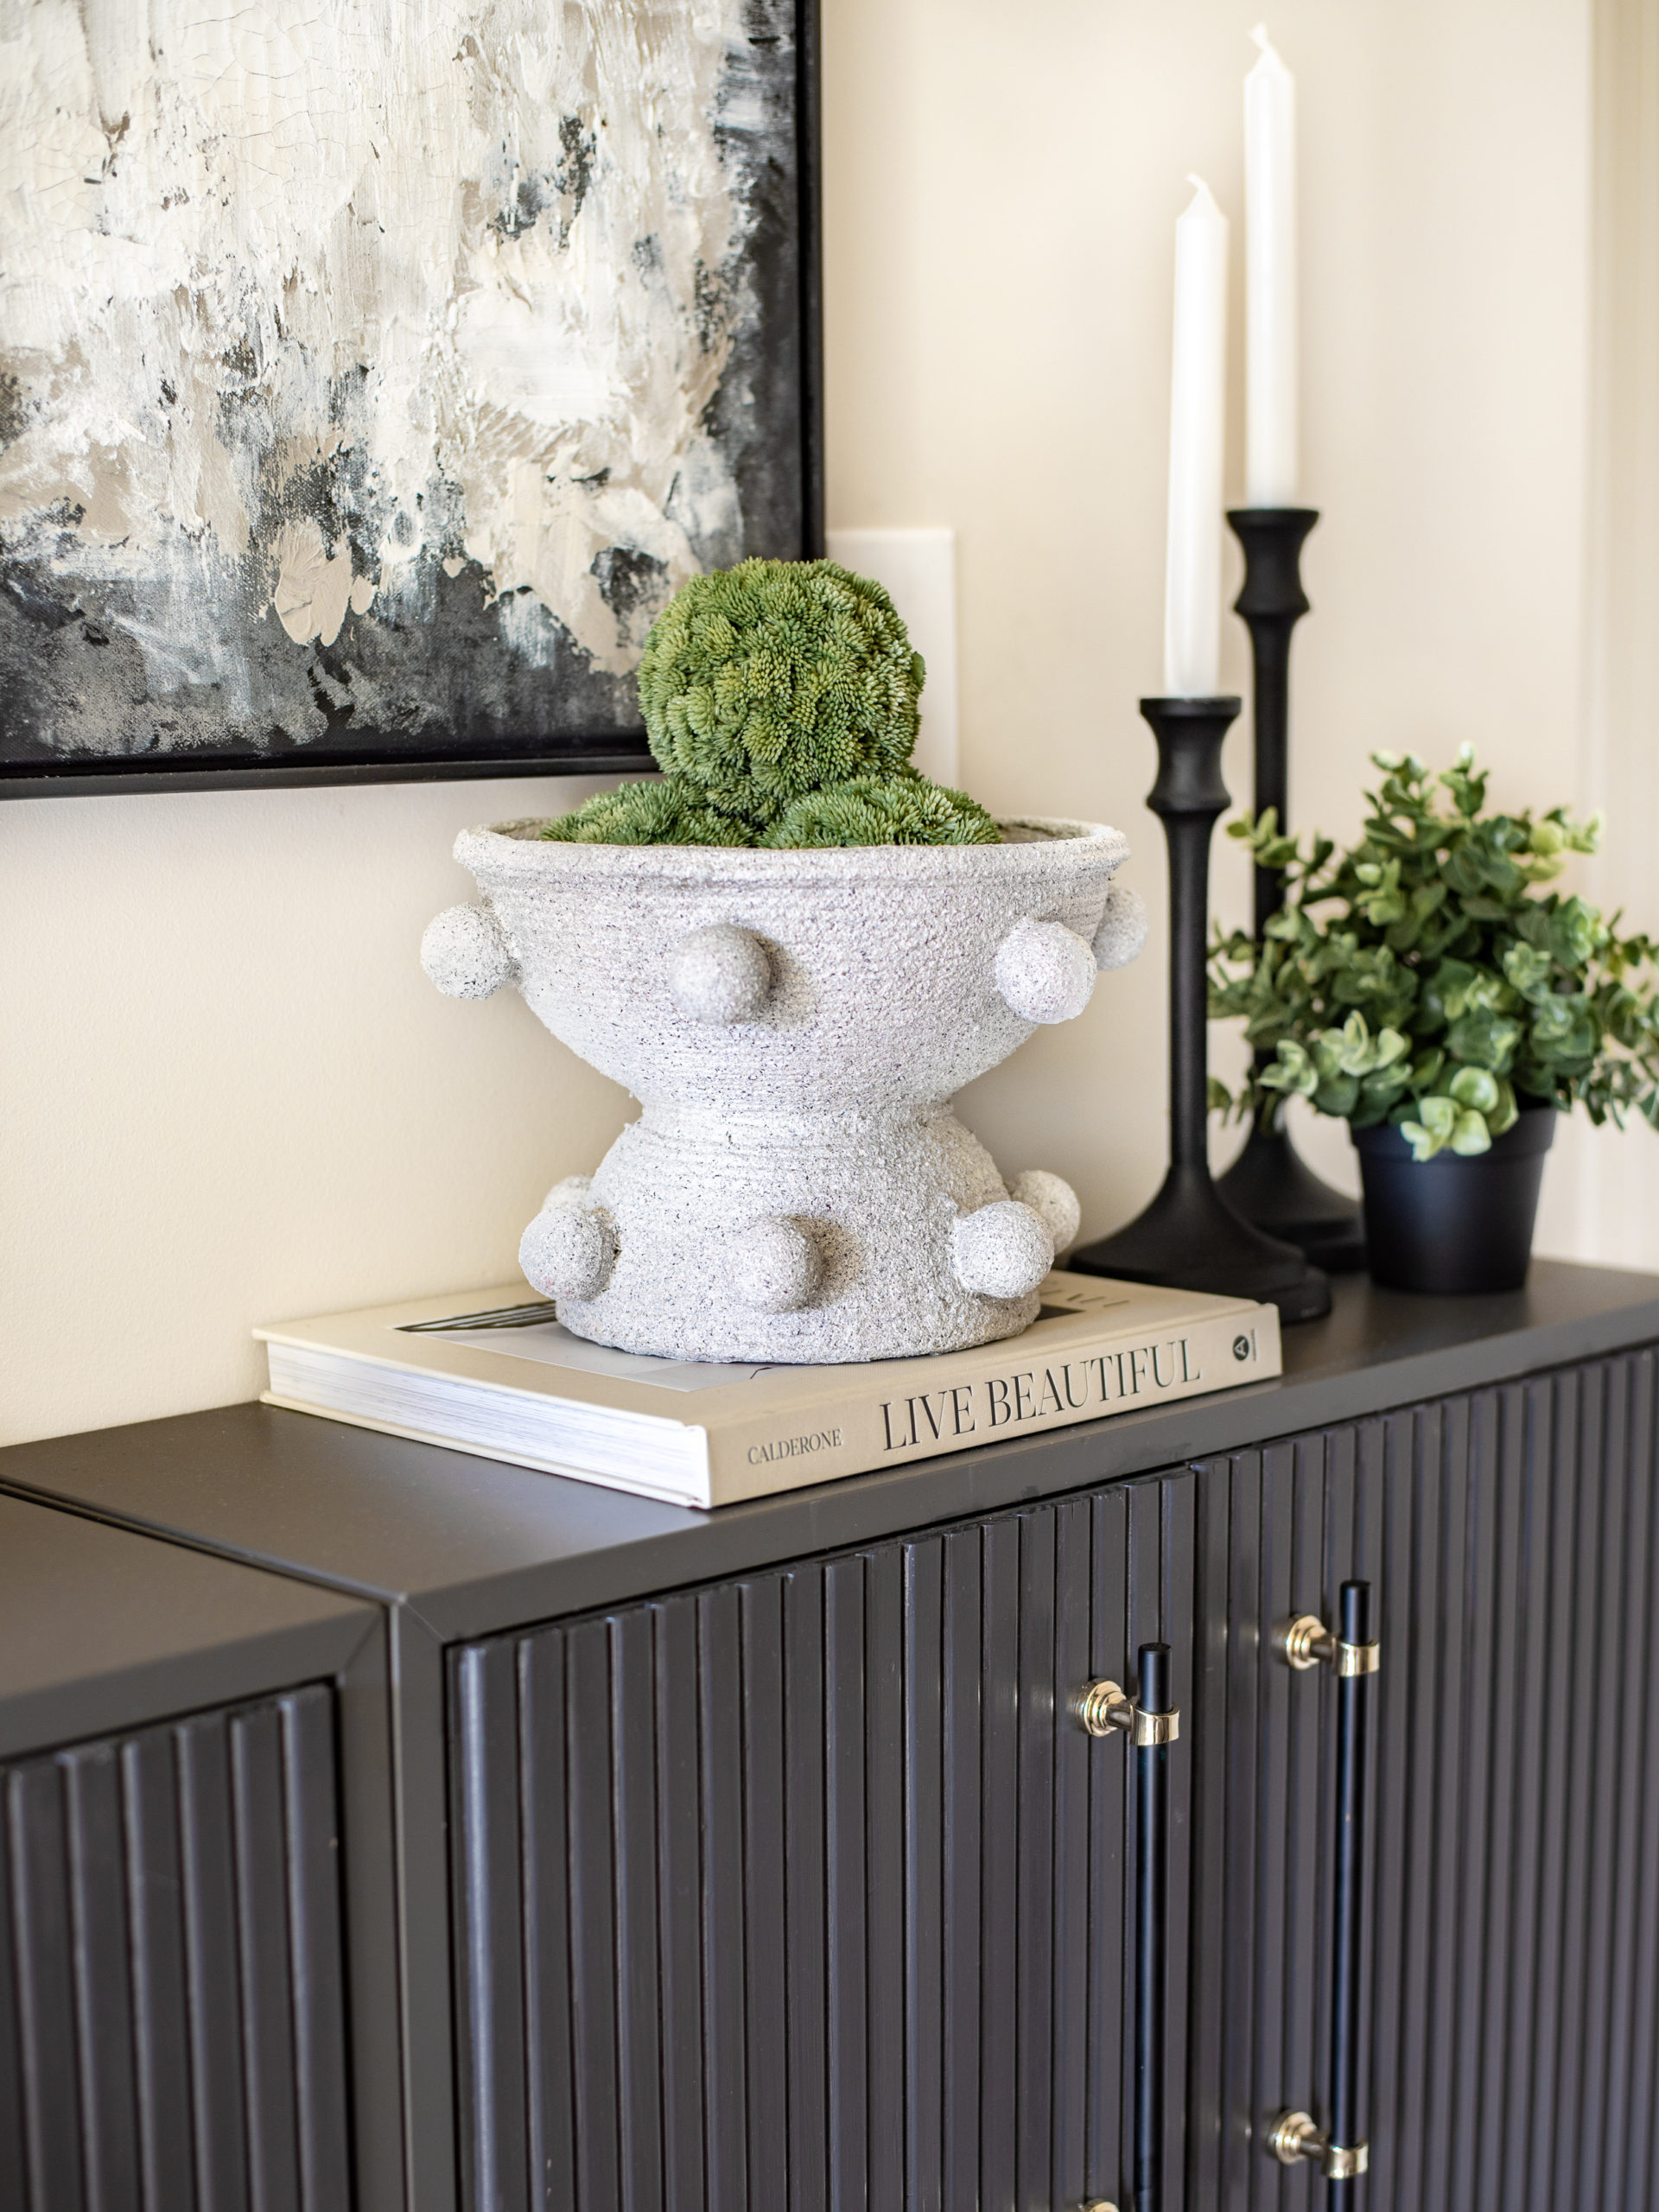

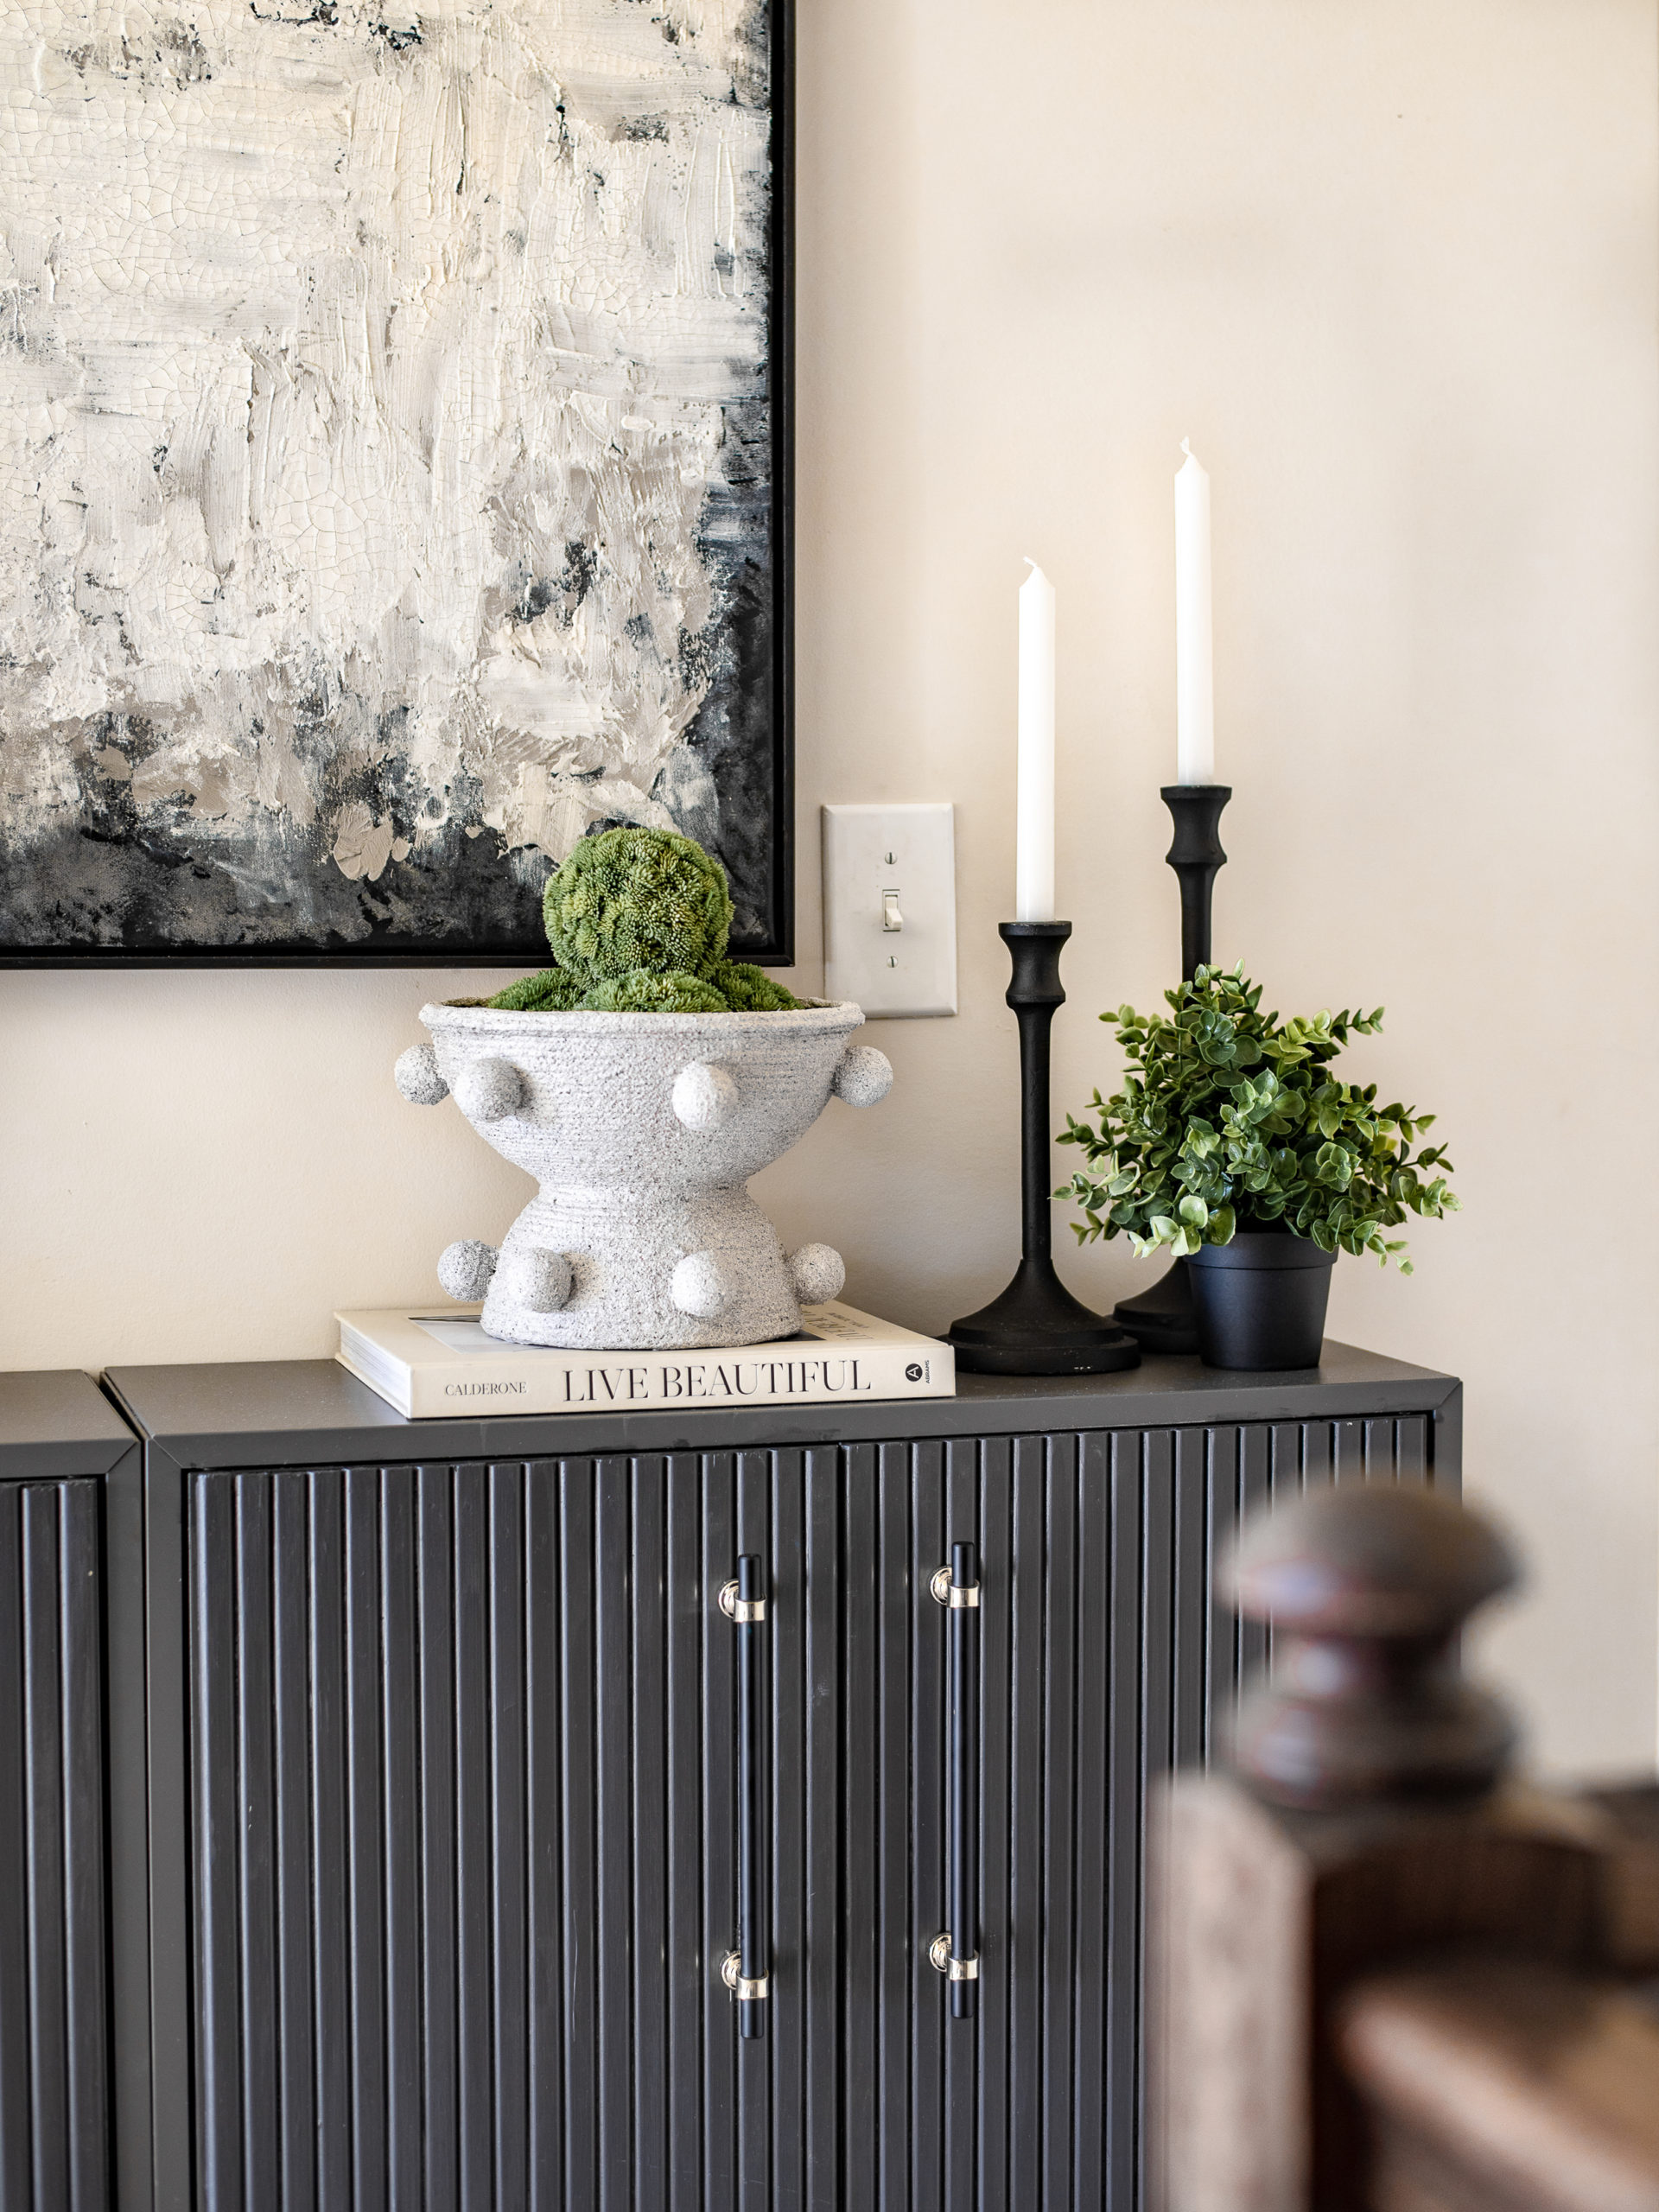


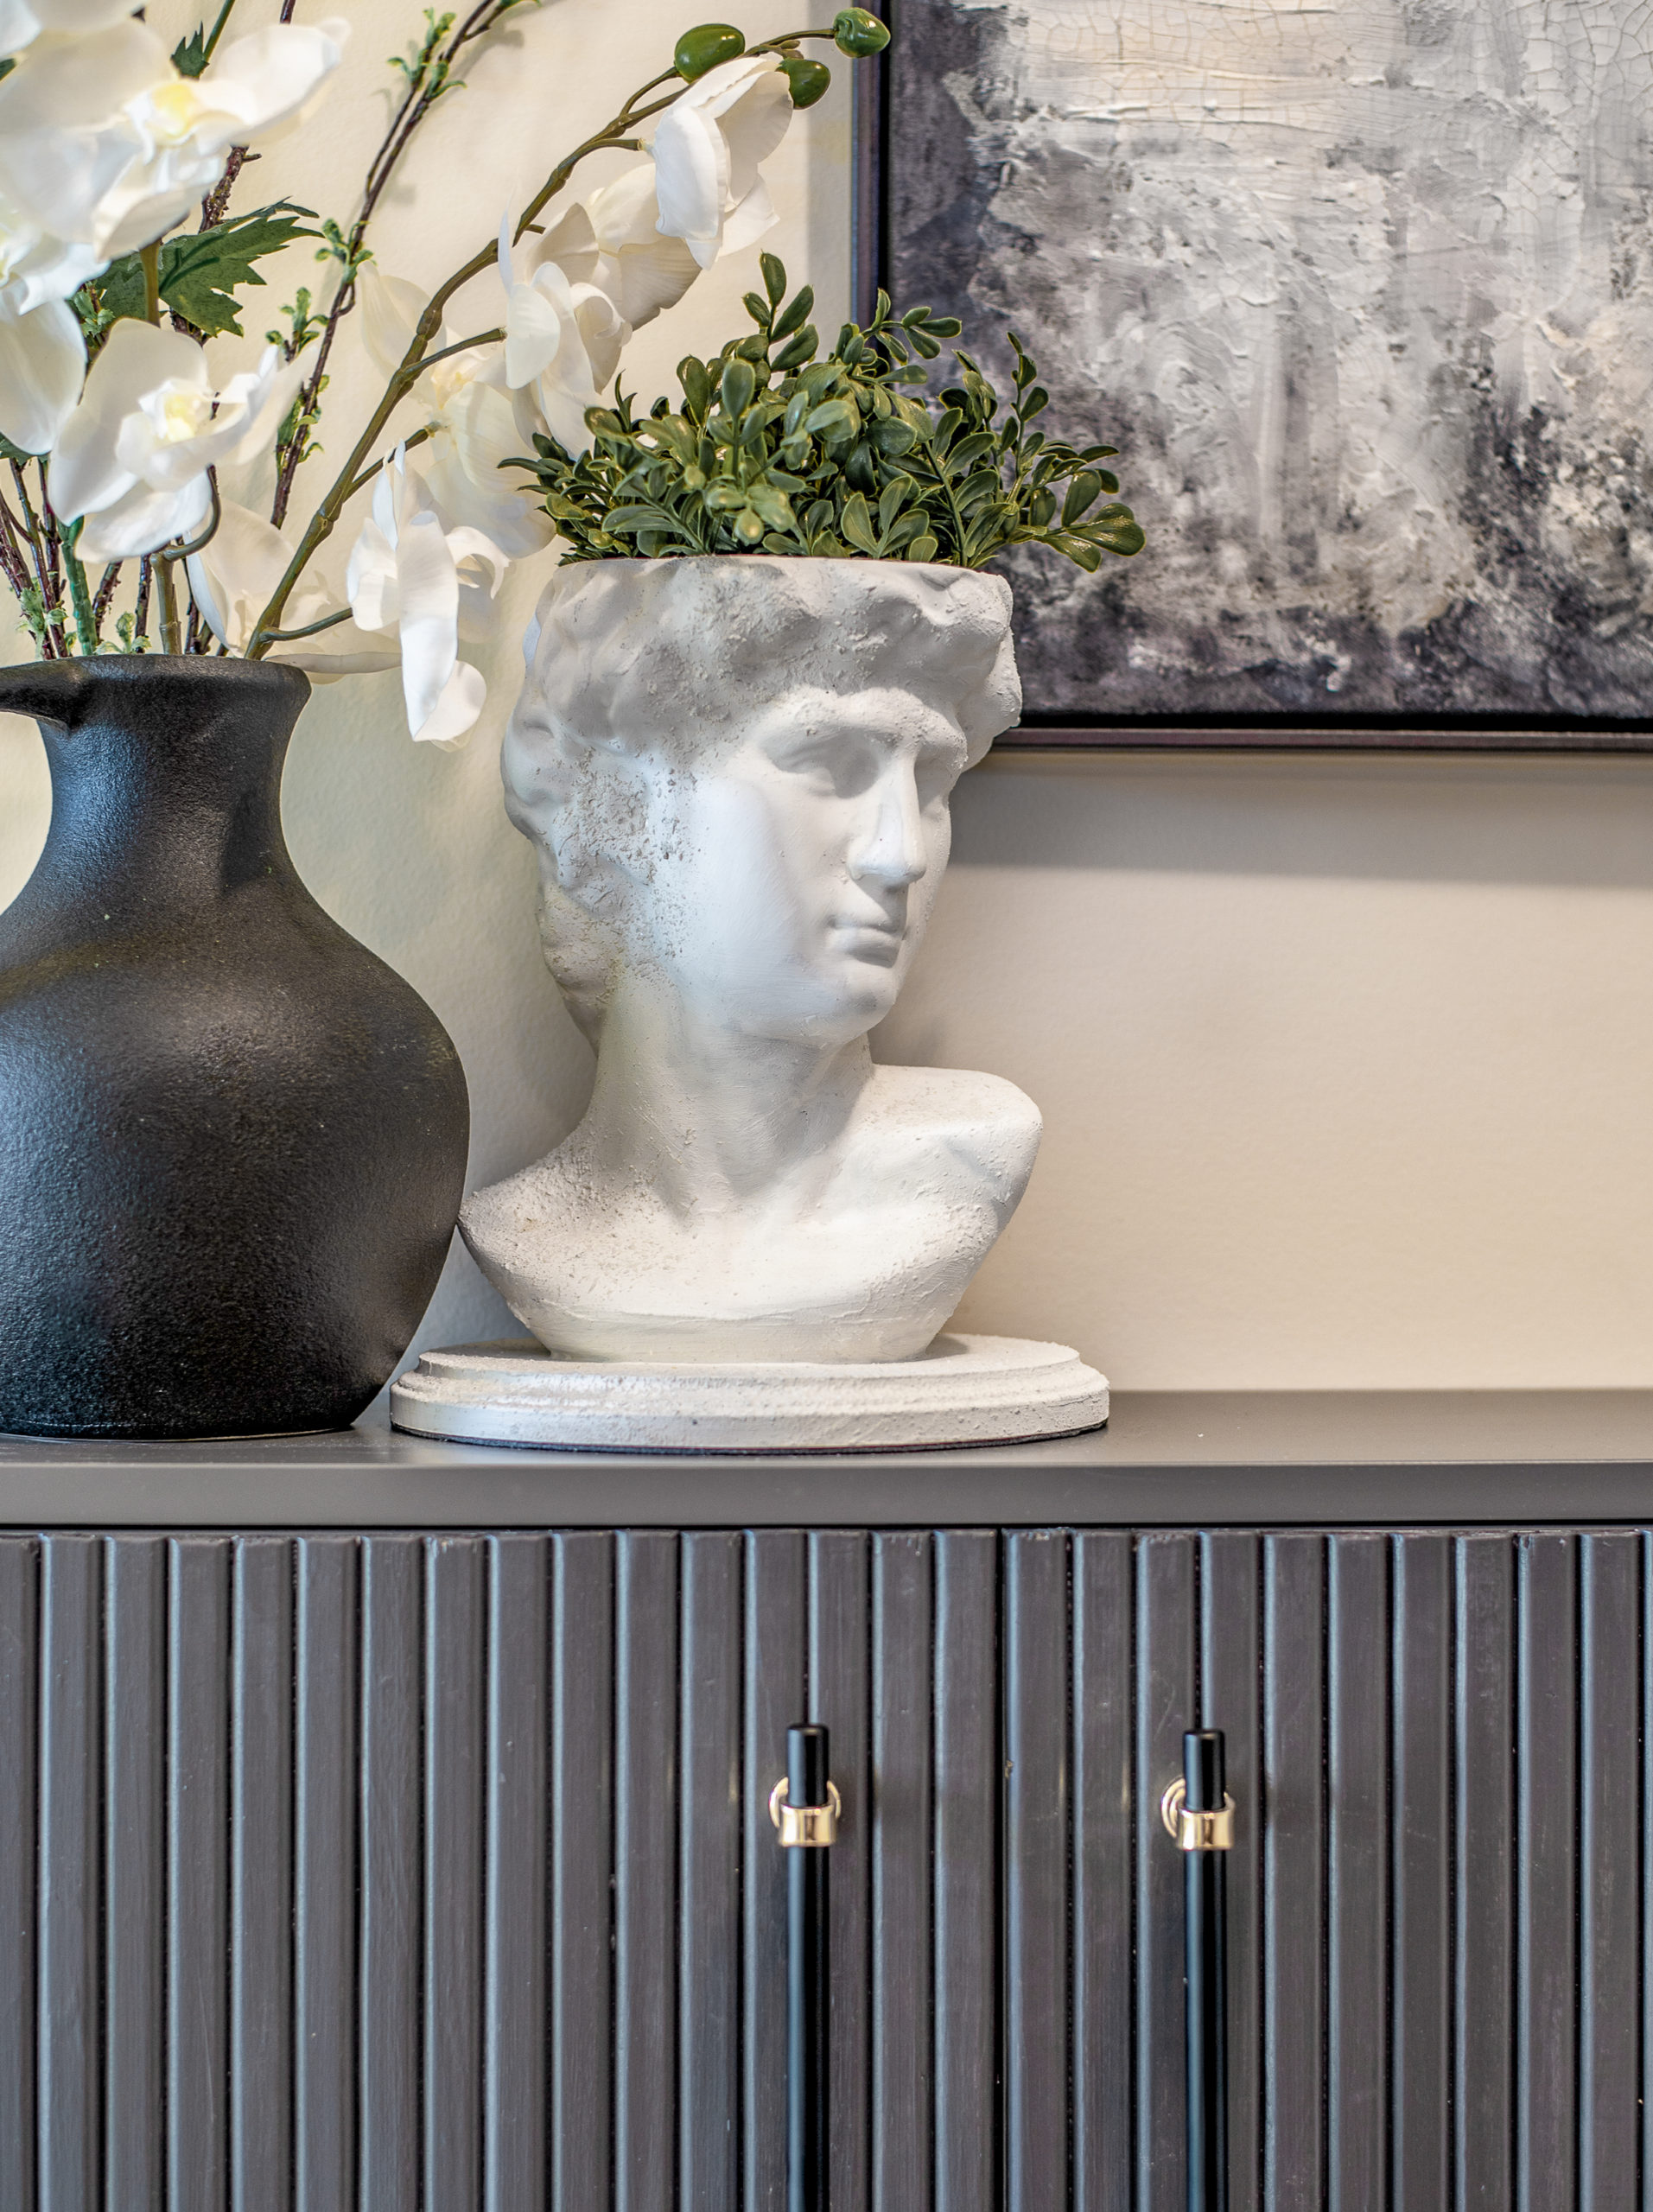

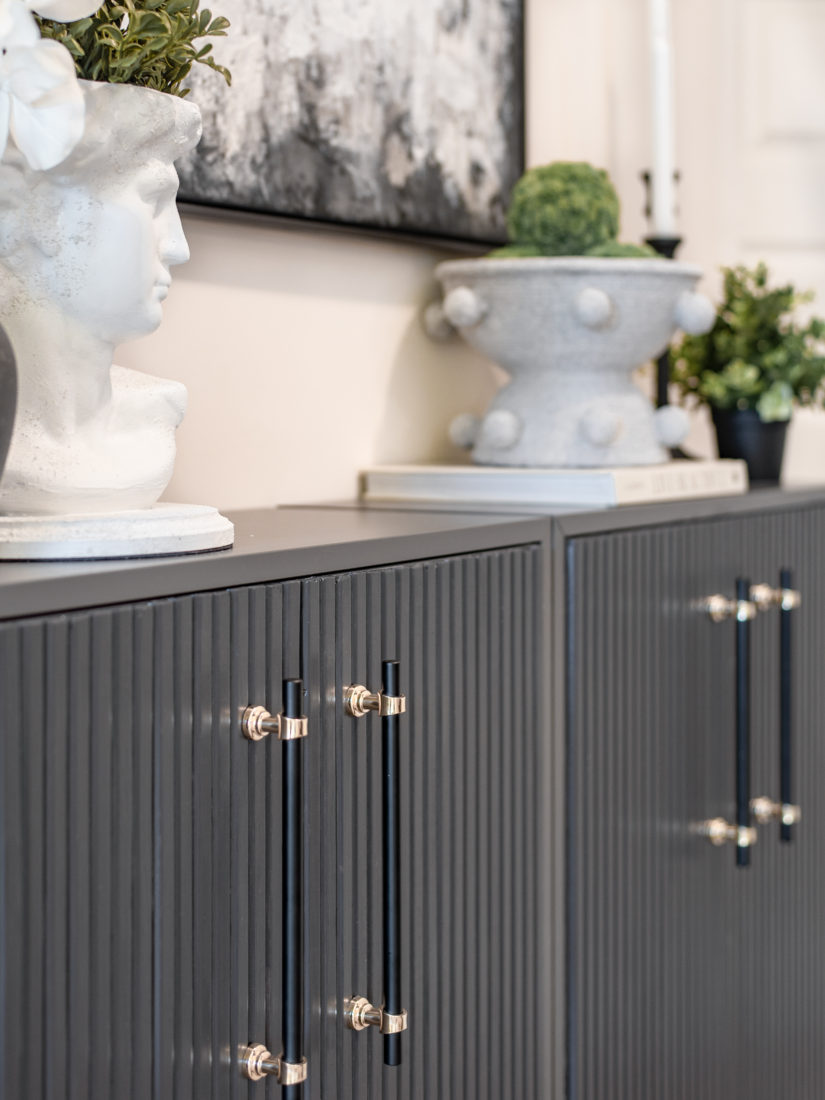

All in all I absolutely loved how the console turned out. I haven’t attached the two consoles together yet so I just placed the side by side and they look like one large piece. I styled they with some faux plants, candlesticks, books, a DIY pedestal bowl I made and DIY plaster art on the wall. PERFECTION! Let me know in the comments if you like DIY projects like this or if you have made anything similar! Again this was just my version after reviewing so many different Ikea hacks for the Eket cabinet but if you google search “Ikea Hacks” or “Ikea Eket Hacks” you are sure to find tons of inspo for your next project too.
CREATE YOUR OWN


Erica
Liked this post? share it on social!










This IS beautiful! Your styling makes it that much more beautiful! Saw your feature on Suzannes’s Pieced Pastimes! Kudos!
Thank you so much!